How to use ice, water and gravity to extract cannabinoids and terpenes from cannabis plants
In anticipation of our hash washing event at Plateau for this year’s 710 celebration we thought it best to codify what we know about how to make bubble hash into one, easy-to-find post.
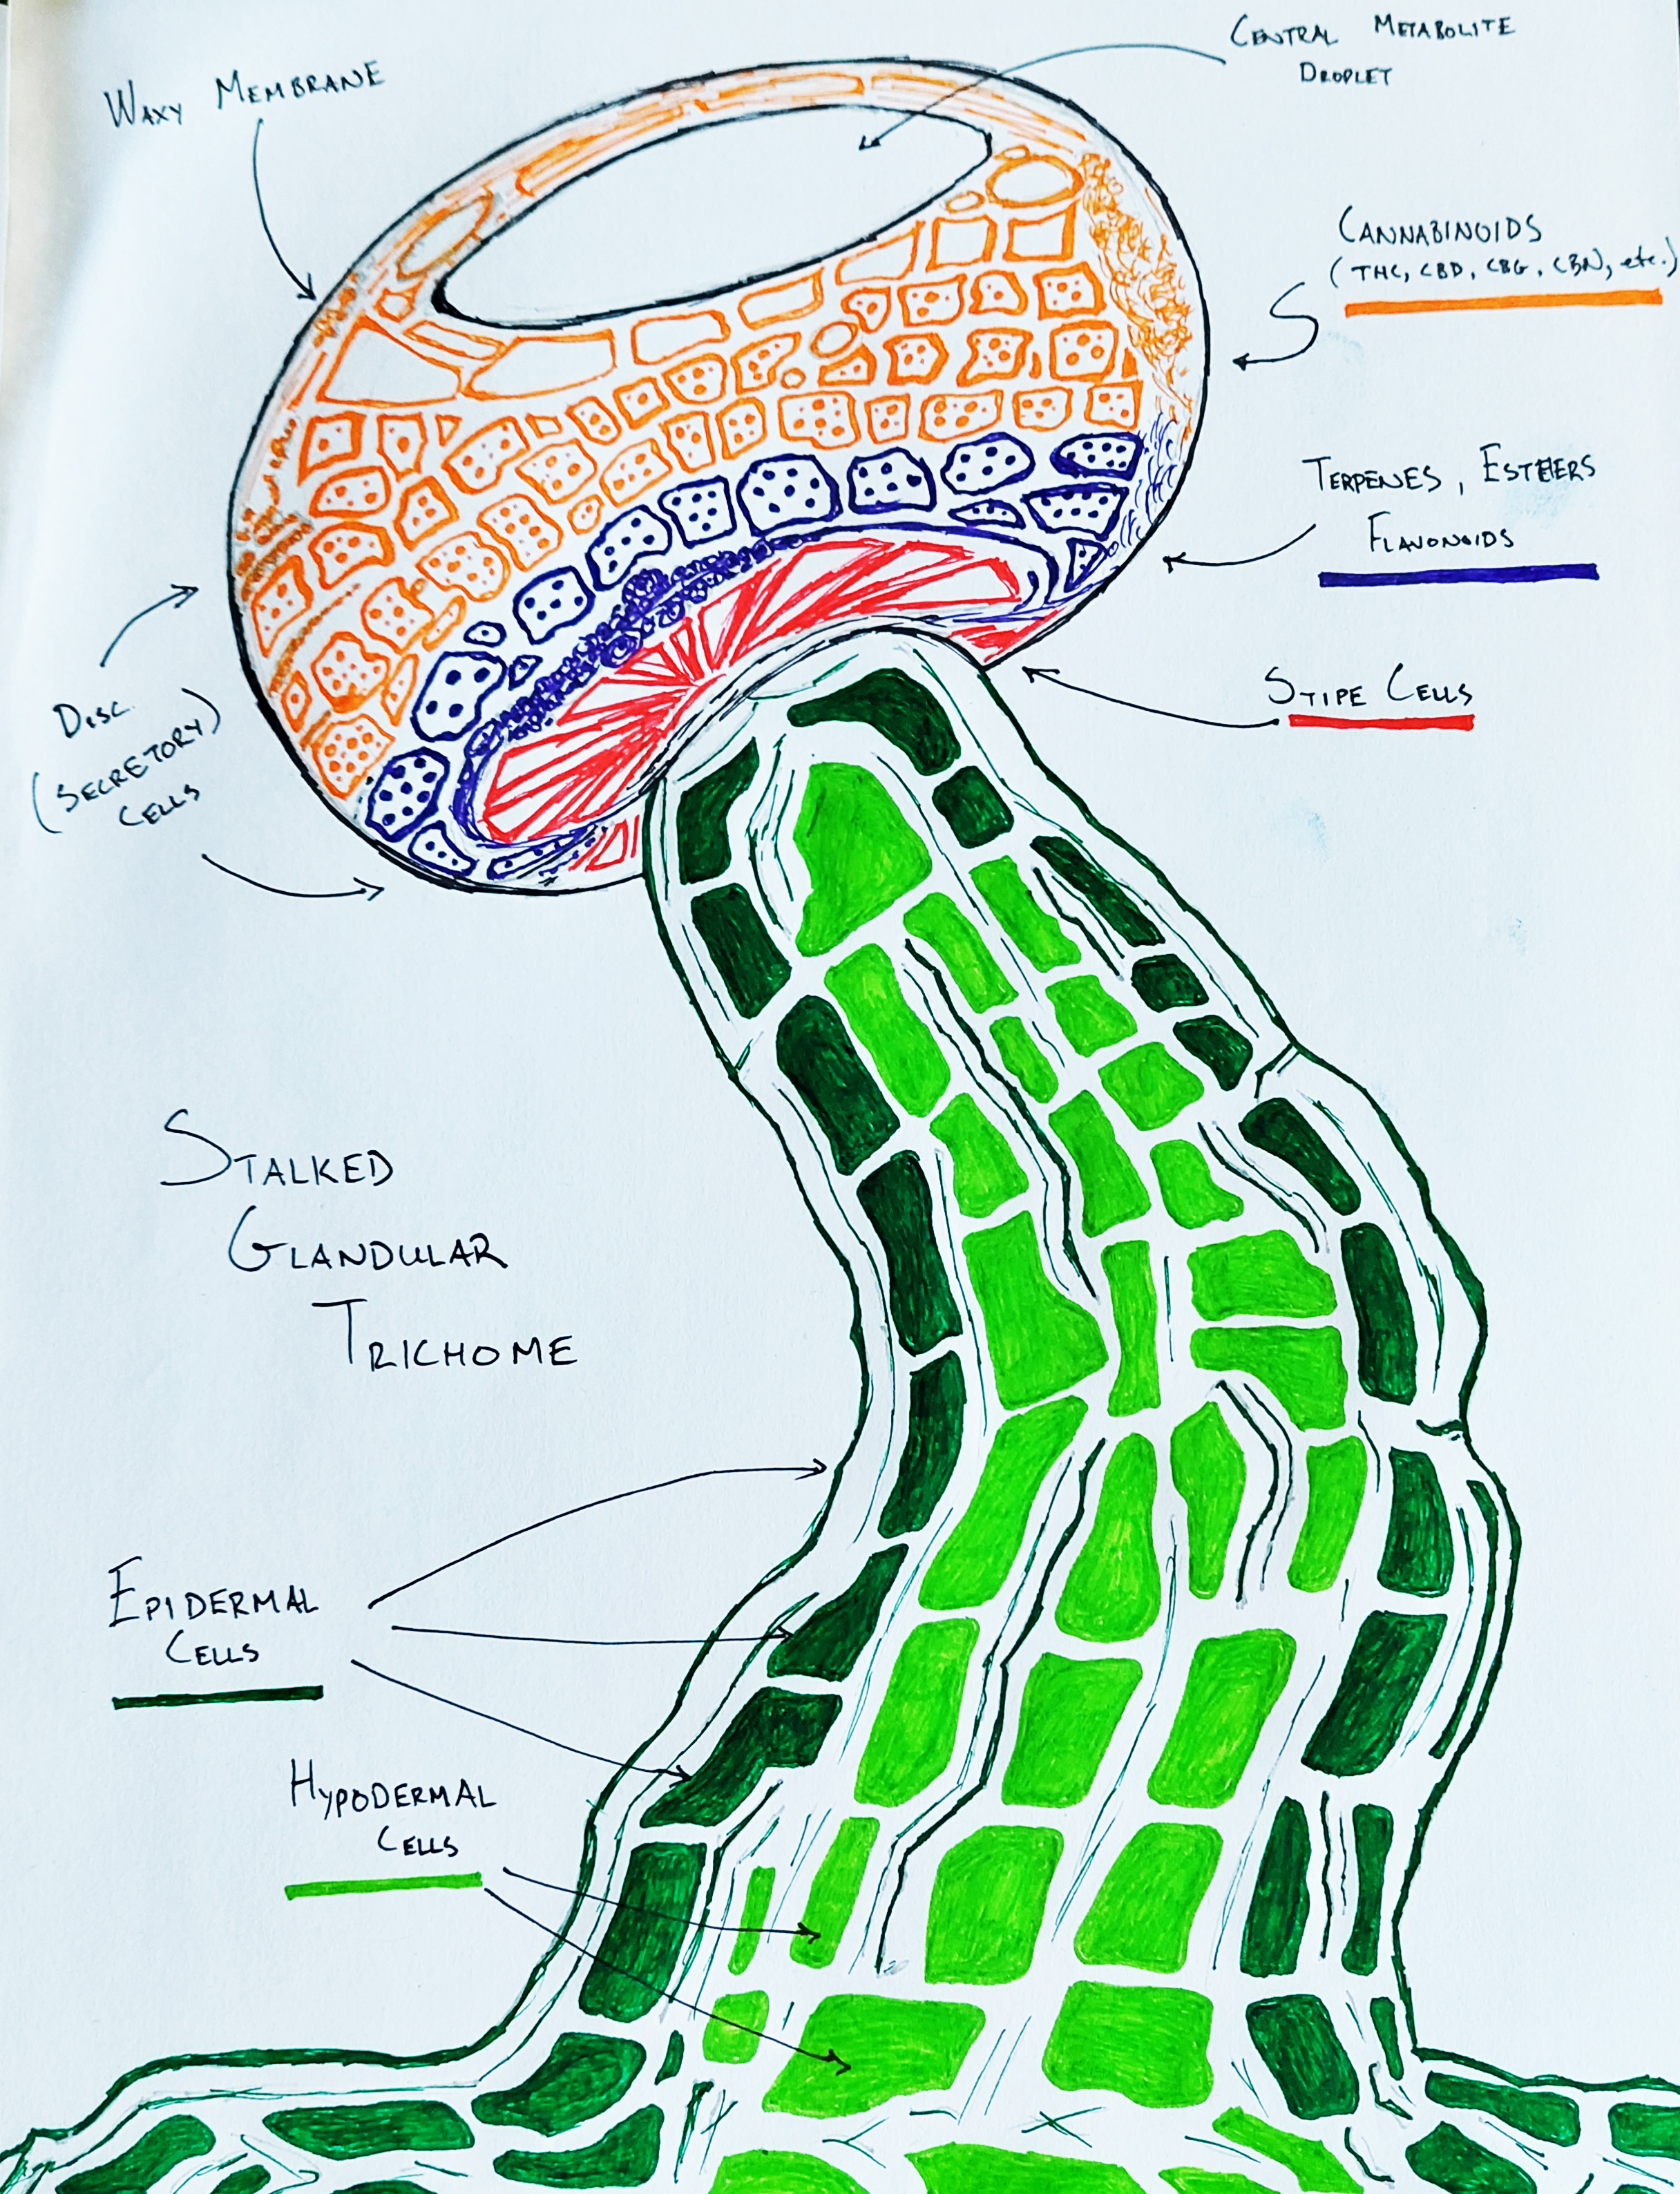
The goal of making bubble hash is to separate trichome heads from their stalks, isolating them from the rest of the cannabis plant material. There are many ways to isolate cannabis resin but the bubble hash method uses only ice, water and gravity. Since the trichome heads are protected by a lipid membrane they don’t mix or break down in water. So, using a stirring motion and colder temperatures (which prevent the trichome heads from clumping and sticking to itself and our tools) we can “knock” these trichomes off with water. The resulting mixture can then be sieved, sorted and dried to eventually be consumed.
We’ve put the following steps together after interviewing many of Canada’s leading hash makers. If you find an error in the steps below or wish to make a suggestion please feel free to comment. We will update this post with new knowledge as we get it.
HOW TO MAKE BUBBLE HASH
Step 1: Find Weed
Although we recommend learning to grow your own cannabis at home this may not be possible for a number of reasons. If you know someone who grows try to source from them if possible. Even trim can dump lots of trichomes if handled properly.
In a worst case, but much more common scenario, you’ll be buying legal recreational cannabis which isn’t the best for this process but can still yield “hobby-level” results. Just like pressing flower rosin, you’re looking for about 10-20% yield when it comes to washing cannabis. As a quick example, say you bought an ounce of 1964 Supply Company‘s Organic Romulan (which doesn’t exist but should). We should expect around 2 grams of washed hash. It should be noted that many factors will impact this yield which is why folks like Cody Coulson have to experiment so much before coming out with a new product.
If you grow yourself, or can get some quickly after harvest, you can also try freezing the fresh plant material to trap as many volatile terpenes as possible.
Step 2: Gather Equipment
You will need some equipment. Everything here can be found relatively easily online or at hardware stores:
- Parchment Paper
- Cardboard
- Paper Towel
- Spoon
- Microplane (cheese grater with very small holes)
- Hose and a source of clean water (detachable shower head works also)
- 2 x Bags of ice per ounce of cannabis
- Large Salad Bowl
- Freezer
- Nitrile Gloves
- Stirring tool (e.g. paddle, spatula)
- 4 x Buckets (5 gal)
- Bubble Bags (should come in a pack of at least 4)
- 25 micron drying screen (should come with bubble bags)
Cut the bottom inch off of all the buckets except one.
Step 3: Soak Weed
- Take the work bucket (the one that still has a bottom) and place the 220 micron bag inside it. Flip the opening of the bag over the lip of the bucket so the bottom of the bag sits about 3-4 inches above the bottom of the bucket.
- Place a layer of ice at the base of the bag, then layer your cannabis on top followed by several more layers of ice. This will help keep the cannabis weighted down while it soaks.
- Run the hose with clean water until it’s as cold as it gets. Fill the bucket about 75%, making sure to soak the cannabis.
- Let the cannabis soak for 15-20 minutes.
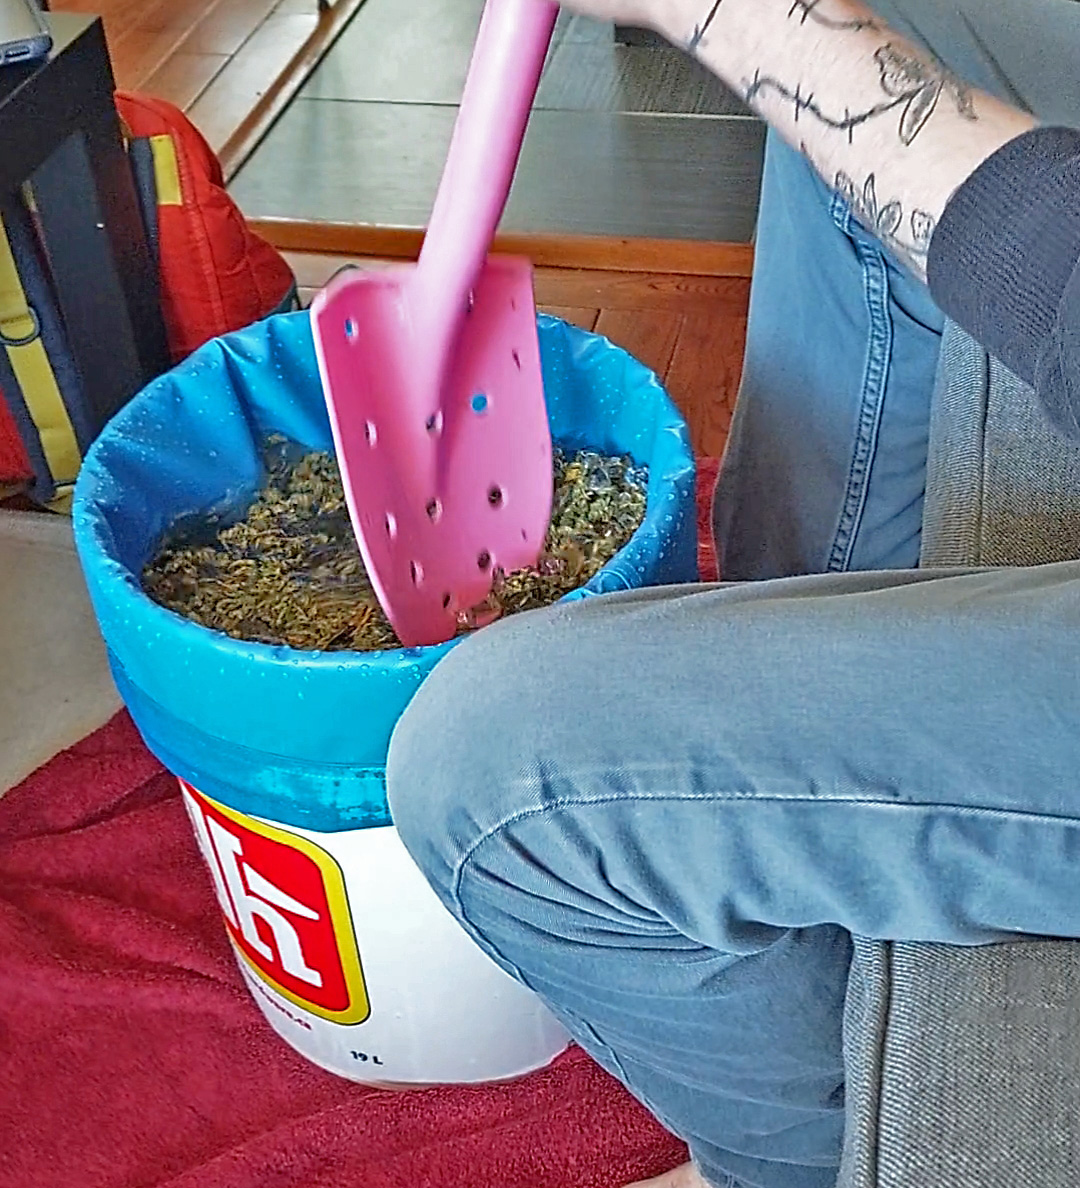
Step 4: Wash Weed
- Use the paddle to stir the cannabis and ice water. Do this steadily. The current of the water is what strips the trichomes from the cannabis, not the paddle pushing the buds.
- Stir for 7 minutes.
- Place the paddle aside and remove the 220 micron bubble bag (the work bag), straining as much water into the bucket as possible.
- Place the work bag with the washed cannabis in the salad bowl until you are ready for the second wash.
- The bucket should now be full of very cold, colored water. The color depends on the strain and its age. It is this water we will pour through the other bags to sieve out the trichomes, which gives the water its color.
Step 5: Sift and Wash Hash
- The bottomless buckets should each have a bubble bag inside them and hooked over their lip.
- Stack the buckets starting with the smallest micron size (25 u) at the bottom and increasing as you go up. A typical bubble hash bag setup would have the following arrangement: 25, 40, 70, 160 microns. The stack of filters used is entirely up to the person sifting.
- Place the stacked buckets into a bathtub or over another receptacle where the drained water can run freely.
- Slowly pour the water from the first wash through the filters. As you do you will see trichomes begin to pile up in each filter bag.
- Once all of the first wash has been poured through the other bubble bags you can begin to rinse and further wash the trichomes caught at each size of filter.
- Rinse down and towards the center of the bag so all the trichomes collect together. While wet the trichomes will resemble wet sand or mud. You will know when to stop rinsing because bubbles will form in the hash.
- Repeat this with each layer, removing the bucket once the hash is thoroughly washed. Take the spoon and use it to collect the wet hash then gently transfer it to the additional 25 micron screen, which has been layered over paper towel or cardboard. The 25 micron screen will allow water to fall down into the paper towel beneath.
- Once all trichome ranges have been transferred to the drying screen you can then transfer the hash patties to a piece of parchment paper over cardboard. Place this in a freezer for 24 hours.
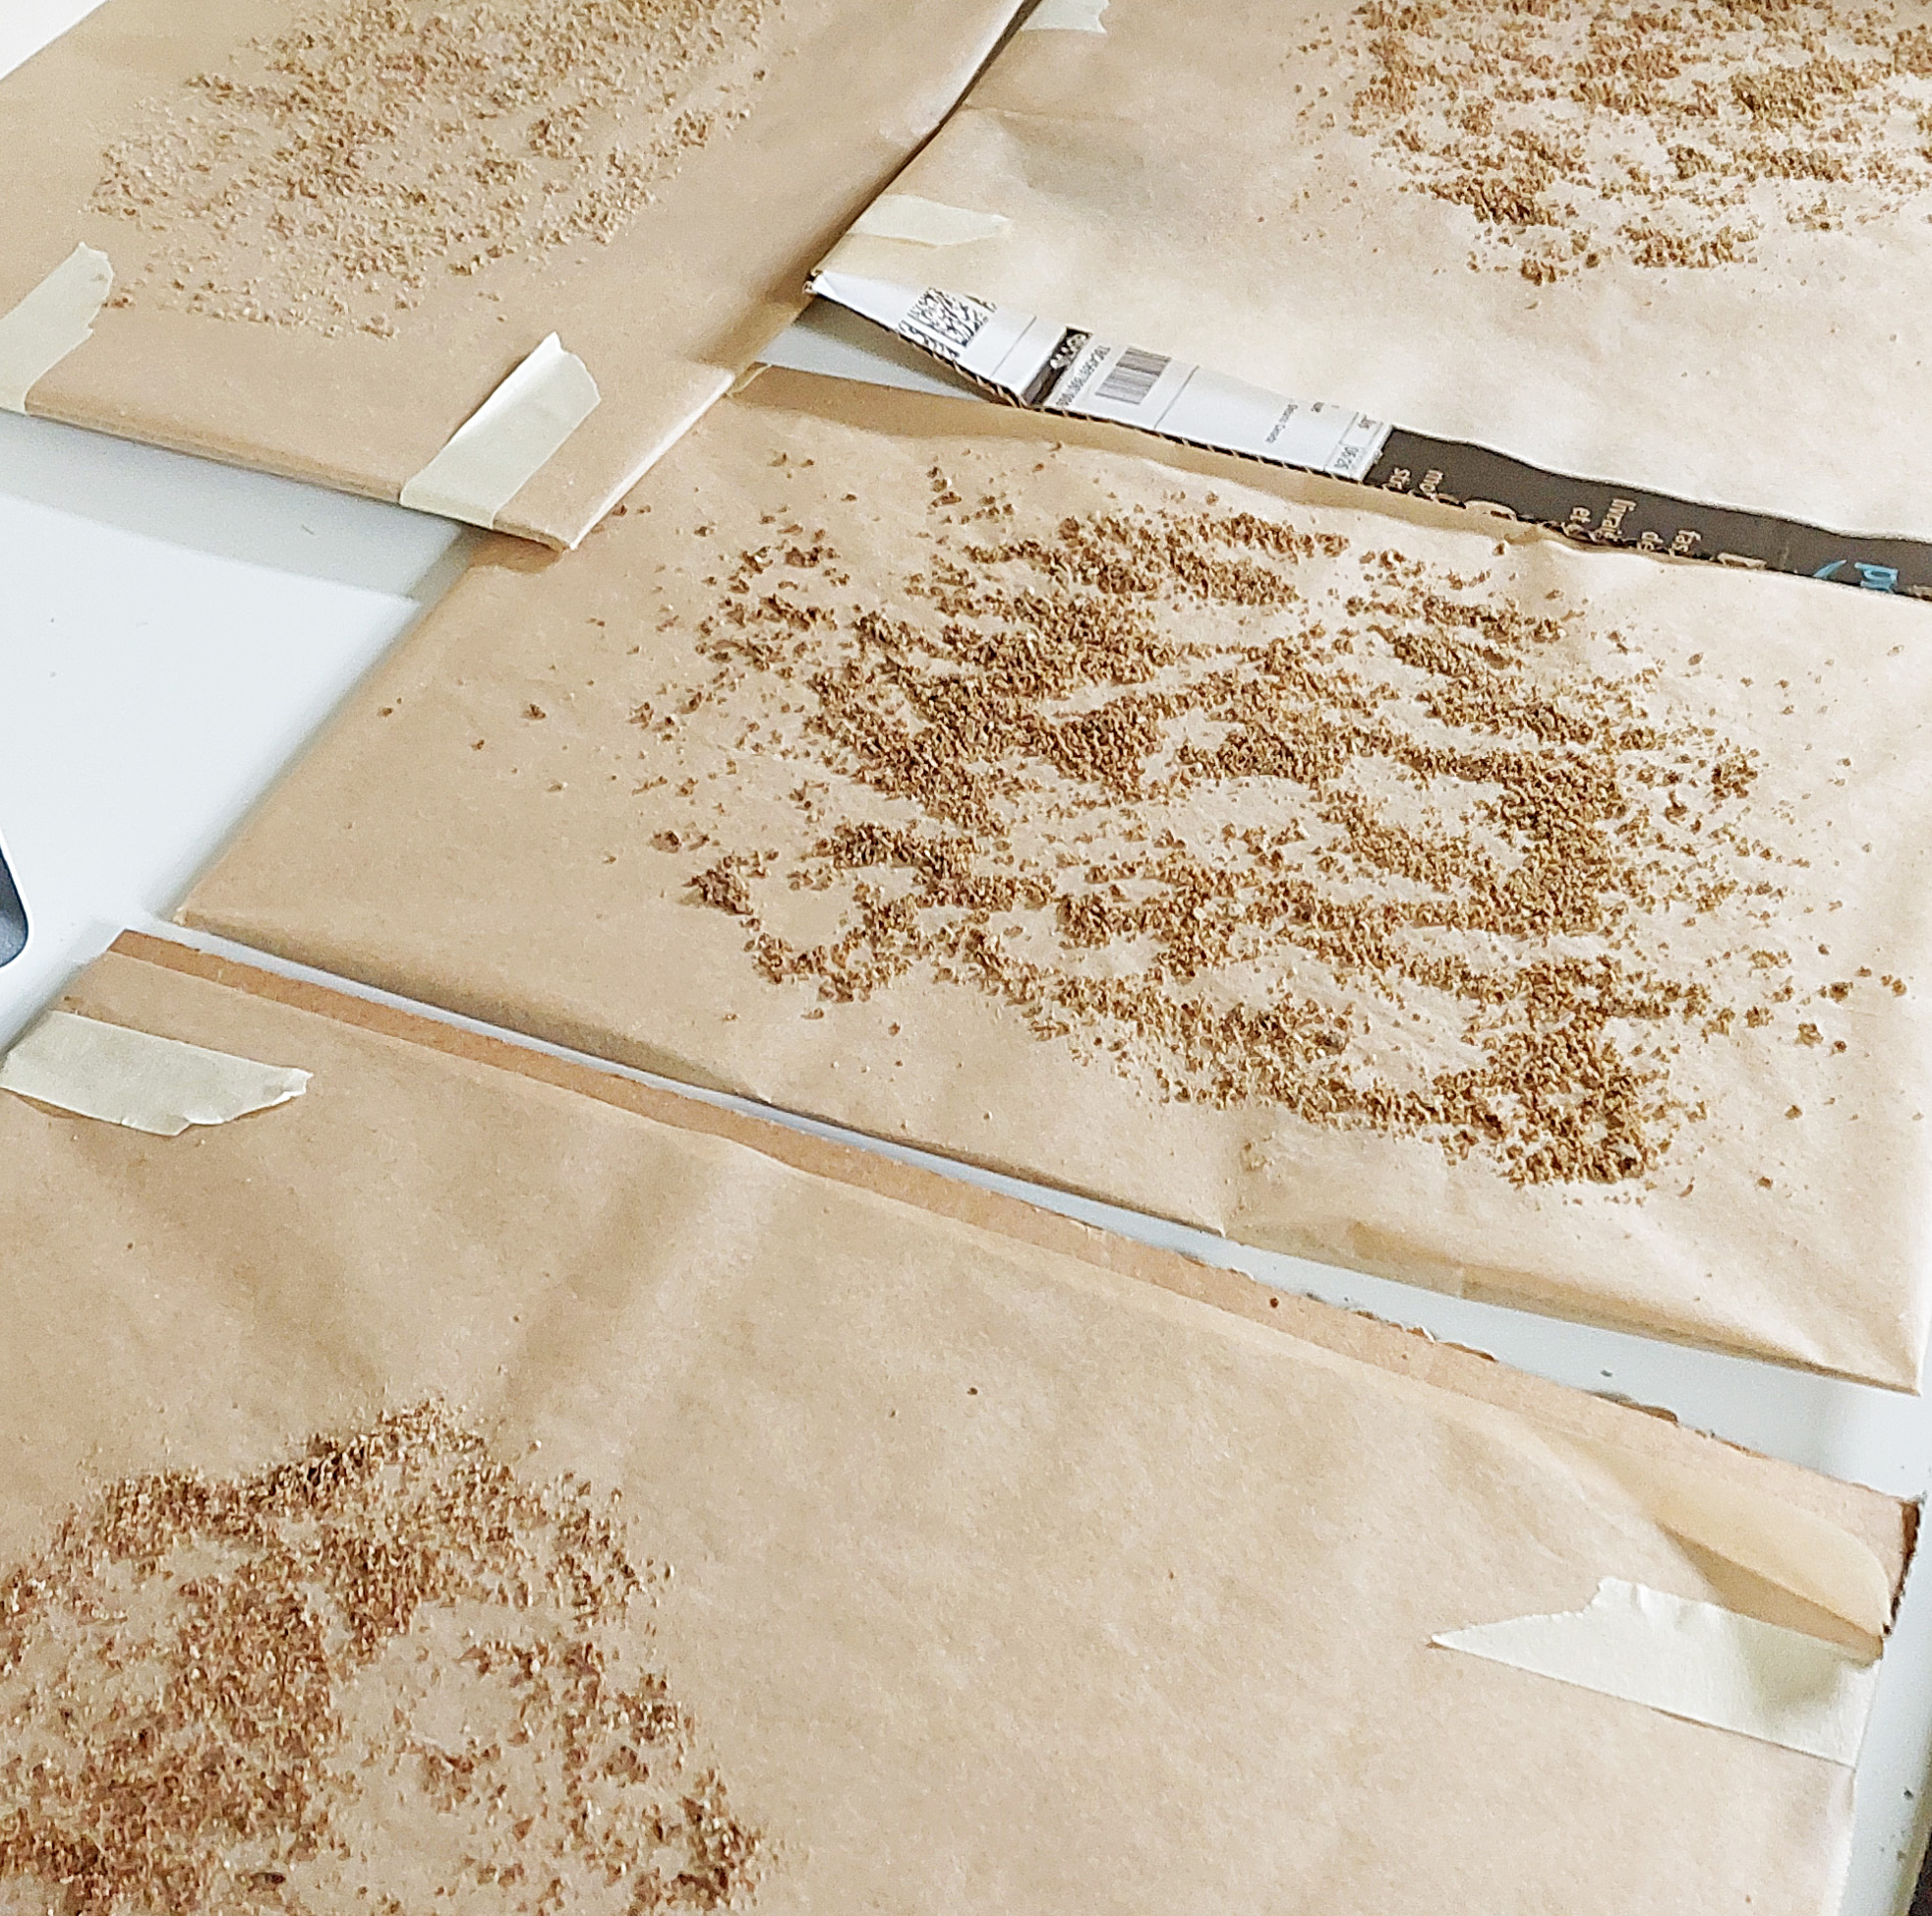
Step 6: Dry Hash
- Take the frozen patties out of the freezer and break them up onto a piece of parchment paper.
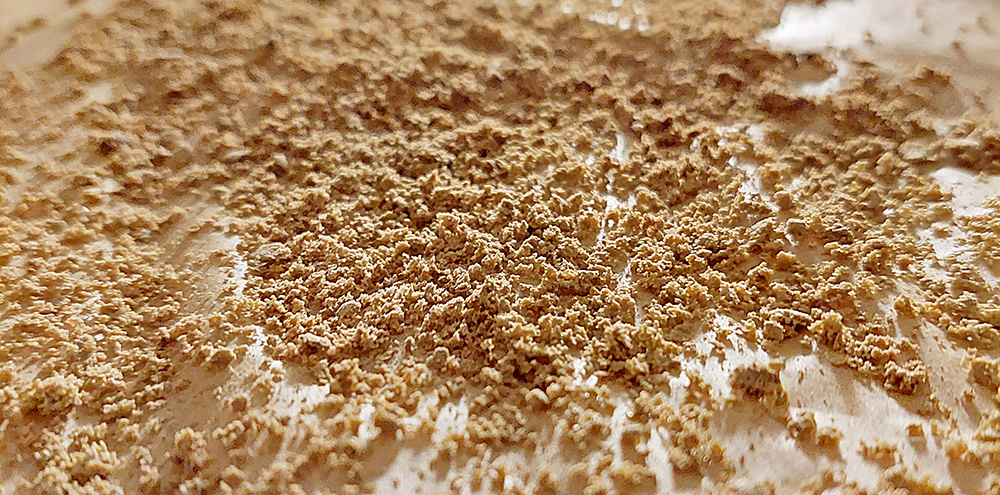
- Use a microplane (cheese grater with very small holes) to break each patty up into dust as small as possible. This allows the hash to dry evenly without capturing moisture and giving mold a place to grow.
- Let this parsed out hash sit in a cold, dry environment for about 7 days. Get as close to 15C and 35% humidity as you can without going lower than that.
Step 7: Clean Tools / Second Wash
- It’s important to clean the filter bags between every use. The trichome heads can jam up the filters. Use isopropyl alcohol and a toothbrush (if necessary) to clean each bag after each wash (with the exception of the work bag).
- You should absolutely do at least one extra wash, if not several more. Rule of thumb is if you see hash, keep washing.
- Since the cannabis is already soaked, all you have to do is add ice, water and stir.
- On each successive wash you’ll want to stir for longer and longer. On your second wash shoot for 15 minutes of stirring.
Step 8: Enjoy Hash
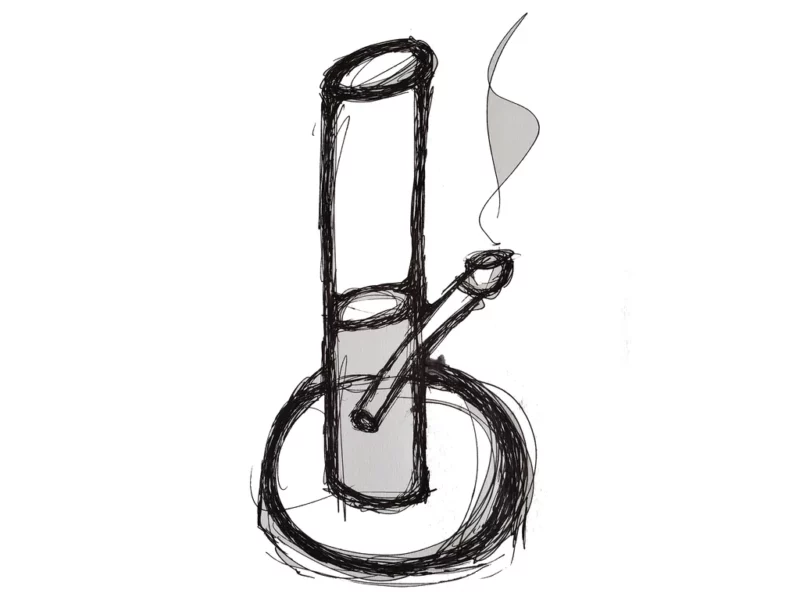
- You can smoke the resulting dried hash in a dab rig, e-nail, joint, pipe or bong. Some folks roll it up into a temple ball and let it age. Others press it into hash rosin for a more pure experience, especially when it comes to taste and smoothness.
- Others turn their hash, or hash rosin, into edibles. To see our recipe for that click here.
As mentioned above, if there’s anything you’d like to see added please comment below!